


Plenty of paddlers buy a dry bag, stuff their gear in, and still climb out with a damp phone and soggy snacks. The reason: a dry bag is one tool, not a complete system. Water reaches your gear by several different routes on a kayak, and staying dry means closing off each one — and making sure nothing floats away if you go over.
It helps to start with why gear gets wet despite a dry bag, because the fix follows directly from the cause. On a kayak, water reaches your belongings through five distinct routes: spray and drips from every paddle stroke, rain from above, water pooling in the cockpit or hull, full immersion if you capsize, and — the sneaky one — condensation sealed inside a warm bag. A single dry bag only addresses one or two of these. Keeping gear genuinely dry means handling all five, in order of how much damage each can do. That's the system below.
Step 1: Triage your gear before anything else
You don't need to protect everything equally, and trying to wastes effort on the wrong items. Sort your kit into three tiers first, because the level of protection each gets flows from this:
- Must stay dry (critical): phone, keys, wallet, car fob, fire/lighter, first-aid, a spare warm layer. Failure here ruins or endangers the trip.
- Should stay dry (comfort): snacks, spare clothes, camera, towel. Annoying if wet, not serious.
- Doesn't matter: water bottle, sandals, anything already waterproof.
This triage is the foundation, because it tells you what deserves the strongest protection (the critical tier) and what can ride loose (the bottom tier). Now protect each tier according to its route of risk.

Step 2: Match protection to each item (redundancy for the critical tier)
The mistake is putting everything in one big dry bag. If that one bag's seal fails — or you open it on the water and a wave catches it — everything is exposed at once. Instead, layer protection so the critical items have their own sealed barrier inside the main bag:
- Phone: a sealed waterproof phone pouch (IPX8, with a transparent touchscreen window so you can navigate and shoot without opening it), kept on your person or clipped in reach — not buried in the hold.
- Critical small items: a small roll-top dry bag of their own — the SL-D110 comes as small as 2L — so they're double-protected.
- Bulk (clothes, food, gear): the main dry bag (the SL-D110 runs 2L–80L in welded 500D PVC and floats if dropped), or a purpose-built kayak dry backpack for hands-free carry.
The principle is redundancy where it counts: one seal failing should never wet your phone and your fire source together. The bottom tier needs none of this — keeping it simple is part of the system, not a gap in it.
Step 3: Close the dry bag correctly (most leaks are user error)
Here's an uncomfortable truth: a large share of "leaking dry bag" complaints aren't faulty bags — they're bags closed wrong. A roll-top seals by trapping a column of air in the folds, and that only works if you roll enough:
- Push out excess air, but don't vacuum it flat — a little trapped air aids the seal and helps it float.
- Fold the top edge down and roll it at least three full times — one or two rolls is the single most common cause of leaks.
- Clip the buckle so the roll is held firmly against itself.
- Don't overfill — if you can't get three clean rolls above the contents, the bag is too full to seal.
This step costs nothing and fixes more wet gear than any upgrade. If a correctly rolled, not-overfilled bag still lets water in, then it's a construction issue worth checking — see why welded seams matter in our welding vs stitching explainer.

Step 4: Manage the water already in the boat
Even sealed, gear gets wet from below if it sits in the water that collects in every kayak — drips off the paddle, splash over the sides, rain. So where you place the bags matters as much as the bags themselves:
- Keep bags off the hull floor where possible — water pools at the lowest point, so a bag resting there sits in a puddle for hours.
- Use hatches and bulkheads on sit-in kayaks — the sealed compartments are drier than the open cockpit, but they aren't fully waterproof, so dry bags still go inside them.
- On sit-on-top kayaks, gear is fully exposed to spray, so everything that matters belongs in a sealed bag, lashed to the deck.
This is the route most paddlers overlook: their bag is sealed, but it's been bathing in cockpit water all day. Lift it, hatch it, or accept that the outside will be wet even if the inside stays dry.
Step 5: Secure everything — dry is useless if it floats away
This is the step that separates a system from a hopeful pile of bags, and it follows from the worst-case route: capsize. If you go over, an unsecured dry bag floats off — and a dry bag bobbing downstream is no use to you at all. Dry and retained are two different requirements, and a kayak in moving water makes the second one non-negotiable.
- Clip or tether every bag to a deck line, D-ring, or inside a hatch — nothing rides loose.
- Keep the critical pouch on your body (PFD pocket or a leash), so even a full swim doesn't separate you from your phone and keys.
- Don't over-tether in whitewater — loose lines are an entanglement hazard; clip short and clean.
Step 6: Beat the sneaky one — condensation
The last route doesn't come from the lake; it comes from inside. Seal a warm, slightly damp item — or warm air on a hot day — inside an airtight bag, and moisture condenses on the contents as things cool. Paddlers blame a "leak" that was actually their own trapped humidity. To avoid it:
- Pack gear dry and cool, not warm from the car or your body.
- For multi-day trips, air bags out at camp rather than leaving everything sealed for days.
- A small cloth or a silica pack in with electronics absorbs the little moisture that does form.
The complete system, at a glance
Each step closes a specific route water takes — together they're the difference between owning a dry bag and actually staying dry:
| Water route | How you close it |
|---|---|
| Spray & drips | Sealed bags; critical items double-bagged |
| Rain | Roll-top closed correctly (3+ rolls) |
| Pooled cockpit water | Bags off the floor / in hatches |
| Capsize immersion | Everything clipped; critical pouch on body |
| Condensation | Pack cool & dry; air out on multi-day trips |
The bottom line: a dry bag keeps water out of one bag — staying dry on the water is a system. Triage your gear, give the critical items their own sealed layer, roll the main bag at least three times, keep bags out of the water that pools in the boat, tether everything against a capsize, and pack cool to beat condensation. Do those, and you'll step off the water as dry as you got on.
The kayak gear that's actually built for this
The steps above work with any quality dry gear, but a few features genuinely earn their place on the water — and they map directly to the problems this guide covers. If you're choosing equipment, here's what to look for, and what we build into ours:
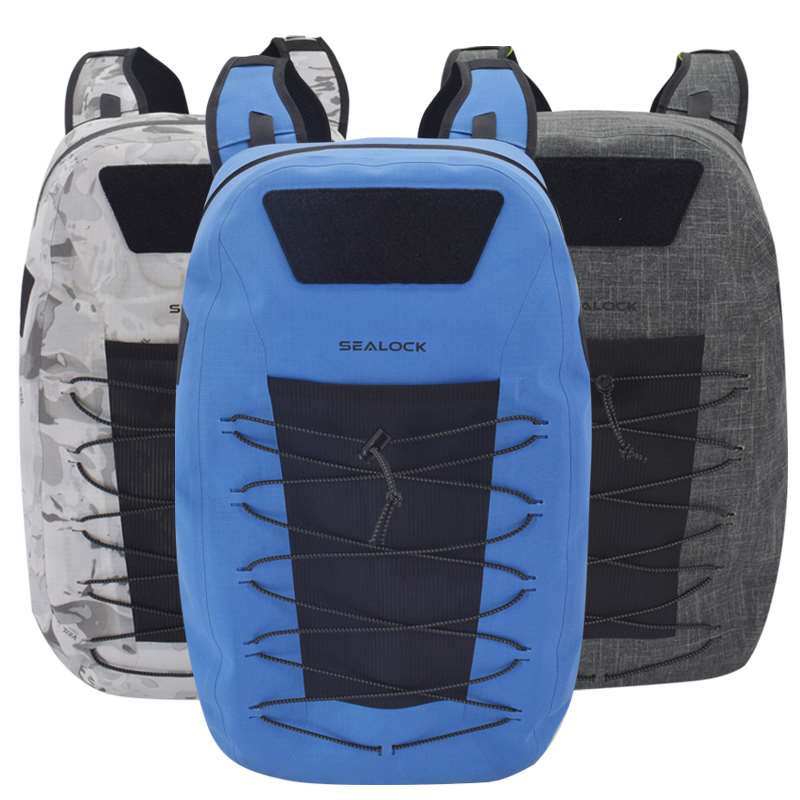
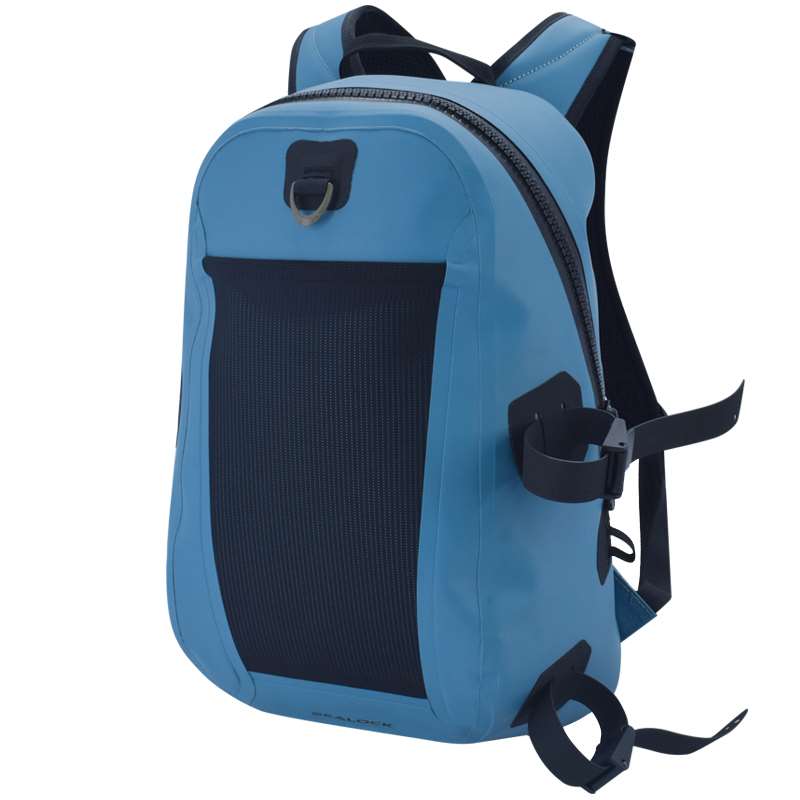
- A kayak dry backpack with a phone window and air valve. Our 28L kayak dry backpack (IPX8, 500D PVC) has a transparent front sunroof so you can read your phone without breaking the seal — solving the "accessible but dry" tension from Step 2 — plus a side air valve to inflate it for rigidity and extra buoyancy, and a multi-function lock to clip it to a paddle board, which is Step 5's tethering built in. See the kayak dry backpack.
- A roll-top dry bag that floats. The SL-D110 (2L–80L, welded 500D PVC) is the bulk workhorse and small-item protector in one range, so you can run the "several small bags" redundancy from Step 2 within one consistent system. See the roll-top dry bag.
- An IPX8 phone pouch with a touch-through window. Keeps your most critical item sealed and on your body, per Step 5. See the phone pouch.
Why trust the construction behind these? The single biggest failure point in dry gear is the seam — which is why everything above uses high-frequency welded seams rather than stitching, eliminating the needle holes that let water wick in. We've manufactured welded waterproof gear for over 21 years from our own facilities, hold certifications including ISO 9001 and BSCI, and supply waterproof gear for partner outdoor brands worldwide. That manufacturing background is the reason this guide focuses on seals, closures, and construction: they're what we see succeed and fail in testing every day.
Frequently asked questions
Usually one of three reasons: the roll-top wasn't rolled enough (three turns minimum), the bag sat in pooled cockpit water all day, or warm gear was sealed in and condensed. Genuine seal failure is the least common cause.
At least three full folds before clipping. One or two rolls is the most common cause of leaks. If you can't get three clean rolls above your gear, the bag is overfilled.
Several. One big bag means one seal failure exposes everything. Smaller bags let you double-protect critical items and keep your phone and fire source from getting wet together.
Use a sealed waterproof phone pouch and keep it on your person — a PFD pocket or a leash — rather than buried in the hold, so a capsize can't separate you from it.
Most do when sealed with some air trapped inside, but a floating bag still drifts away in a capsize. Always tether bags to the boat — floating is not the same as staying with you.
Sit-in kayaks have sealed hatches that are drier than an open deck, but neither is fully waterproof. On both, gear that matters belongs in a sealed, tethered bag — the boat type changes placement, not the need for dry bags.
Pack gear cool and dry rather than warm, air bags out on multi-day trips, and drop a small cloth or silica pack in with electronics to absorb stray moisture.
Building your dry-gear system?
Start with the pieces that do the work: a sealed IPX8 phone pouch for your critical items, a 28L kayak dry backpack for hands-free bulk, and the SL-D110 roll-top dry bags (2L–80L) for redundancy. See all waterproof options to match your paddling.