


No rack, no panniers, no obvious place to strap a bag — but you still need to carry gear. The good news: a luggage rack is only one of several anchor points your bike already has. The key isn't finding the "right bag" first; it's understanding the one rule that keeps any load safe at speed, then choosing the method that fits it.
It's tempting to jump straight to "which bag should I buy?" But on a moving motorcycle, the bag matters less than how — and where — it's mounted. A perfect bag mounted badly is dangerous; a simple bag mounted correctly is fine. So this guide starts with the rule that governs every method, then walks through five rack-free ways to carry luggage, each judged by how well it obeys that rule.
The rule that decides everything
On a bike with no rack, three forces are working against you the moment you set off: the load wants to shift under acceleration and braking, it wants to swing or sag toward moving parts, and its weight changes how the bike handles. Every safe luggage method is really just a way of beating those three forces. Concretely, any load you carry must be:
- Secured against movement — anchored at multiple points so it can't slide, rotate, or bounce loose.
- Clear of hot and spinning parts — nothing can sag into the rear wheel, chain, or exhaust, which is how a loose strap becomes a crash.
- Kept low and forward — weight high or far behind the rear axle makes the steering light and the bike unstable; lower and more central is always safer.
Hold those three in mind, because they're the reason one method beats another in any given situation. Now the methods — and the non-rack anchor point each one uses.
Method 1: A tail bag strapped to the seat
Anchor point: the passenger seat, grab rails, and pillion footpeg mounts.
A tail bag sits on the passenger seat and straps down to the hard points around it — grab rails, subframe loops, or peg brackets. It needs no rack at all, because the seat is the platform and the surrounding metal gives you anchor points. Done with four straps pulling in opposing directions, it can't slide or rotate, which satisfies the "secured against movement" rule directly.
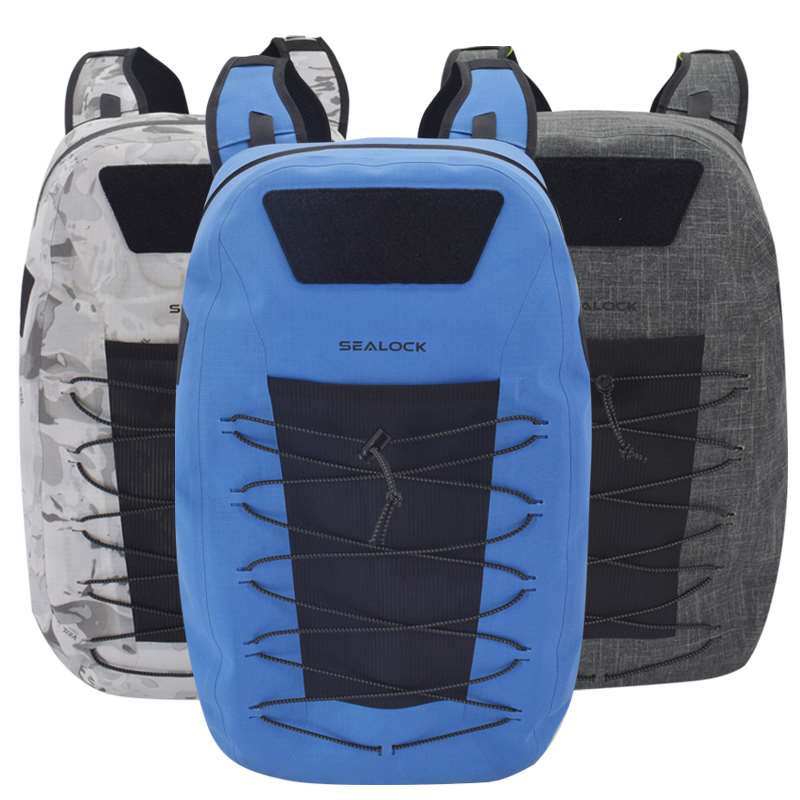
Best for: commuting and weekend trips; the most practical no-rack option for most riders. Honest limit: capacity is bounded by your seat size, and it sits fairly high, so keep heavy items low in the pack. See our backseat / tail bag range.

Method 2: Throw-over soft saddlebags
Anchor point: the seat itself, used as a saddle.
Throw-over saddlebags are two bags joined by a bridge that drapes over the seat, one bag hanging each side. The bike's own seat holds them — no rack required — and because the weight sits low on both sides, this method scores best on the "low and forward" rule, keeping handling closest to normal. The trade-off is the new risk it introduces: bags that hang beside the rear wheel must be tied back so they can't swing into it.
Best for: longer trips and balanced load. Honest limit: you must secure the bottom of each bag to a footpeg or frame point — this is the method where "clear of spinning parts" needs active attention. See our motorcycle saddlebag range.
Method 3: A tank bag
Anchor point: the fuel tank (magnetic base or strap harness).
A tank bag mounts on the tank ahead of you, held by magnets or a strap ring. It puts weight exactly where the "low and forward" rule wants it — over the bike's center, low down — so it barely affects handling, and it keeps essentials in reach. That same forward position is its limit: it can't be large without blocking your reach to the bars.
Best for: phone, wallet, documents, snacks, small essentials. Honest limit: small capacity; magnetic bases need a steel tank (not aluminum or plastic), so check yours first.
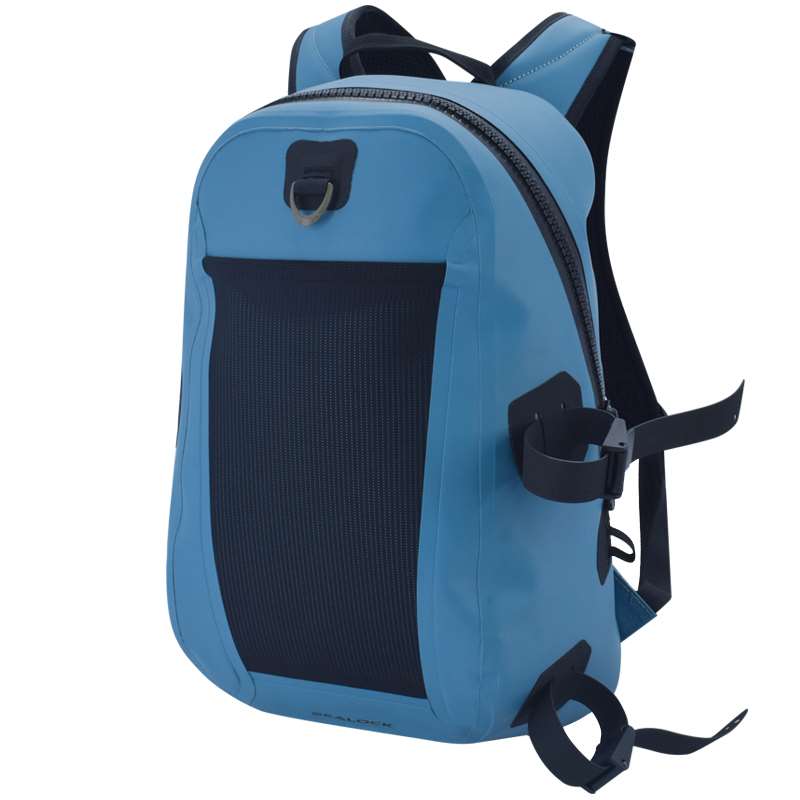
Method 4: Wear it — backpack or sling
Anchor point: your own body.
The simplest rack-free method is to carry the load yourself. A backpack or sling needs nothing mounted to the bike, and the weight stays low and central by definition — on you. But it breaks the spirit of the rule in a different way: weight on your shoulders fatigues you on long rides, raises your center of gravity slightly, and in a fall the contents are against your back. So it's excellent for light, short carries and poor for heavy or long-distance loads.
Best for: a laptop or light day's gear over a short ride. Honest limit: fatigue and safety scale badly with weight and distance — keep it light. A waterproof backpack doubles as your off-bike bag.
Method 5: Lash a dry bag directly to the bike
Anchor point: subframe loops, grab rails, and peg mounts — tied directly.
The most flexible method skips a purpose-made luggage bag entirely: take a cylindrical dry bag and lash it across the seat with proper tie-down straps to whatever solid points the bike offers. This is the adventure-rider's standard fix because it adapts to almost any bike and any load size, and a dry bag adds full weather protection. Its success depends entirely on your strapping — which is why the securing technique below matters most for this method.
Best for: adventure, variable loads, any bike. Honest limit: only as secure as your straps and anchor points; takes practice to do well. See cylindrical options in our dry bag range.
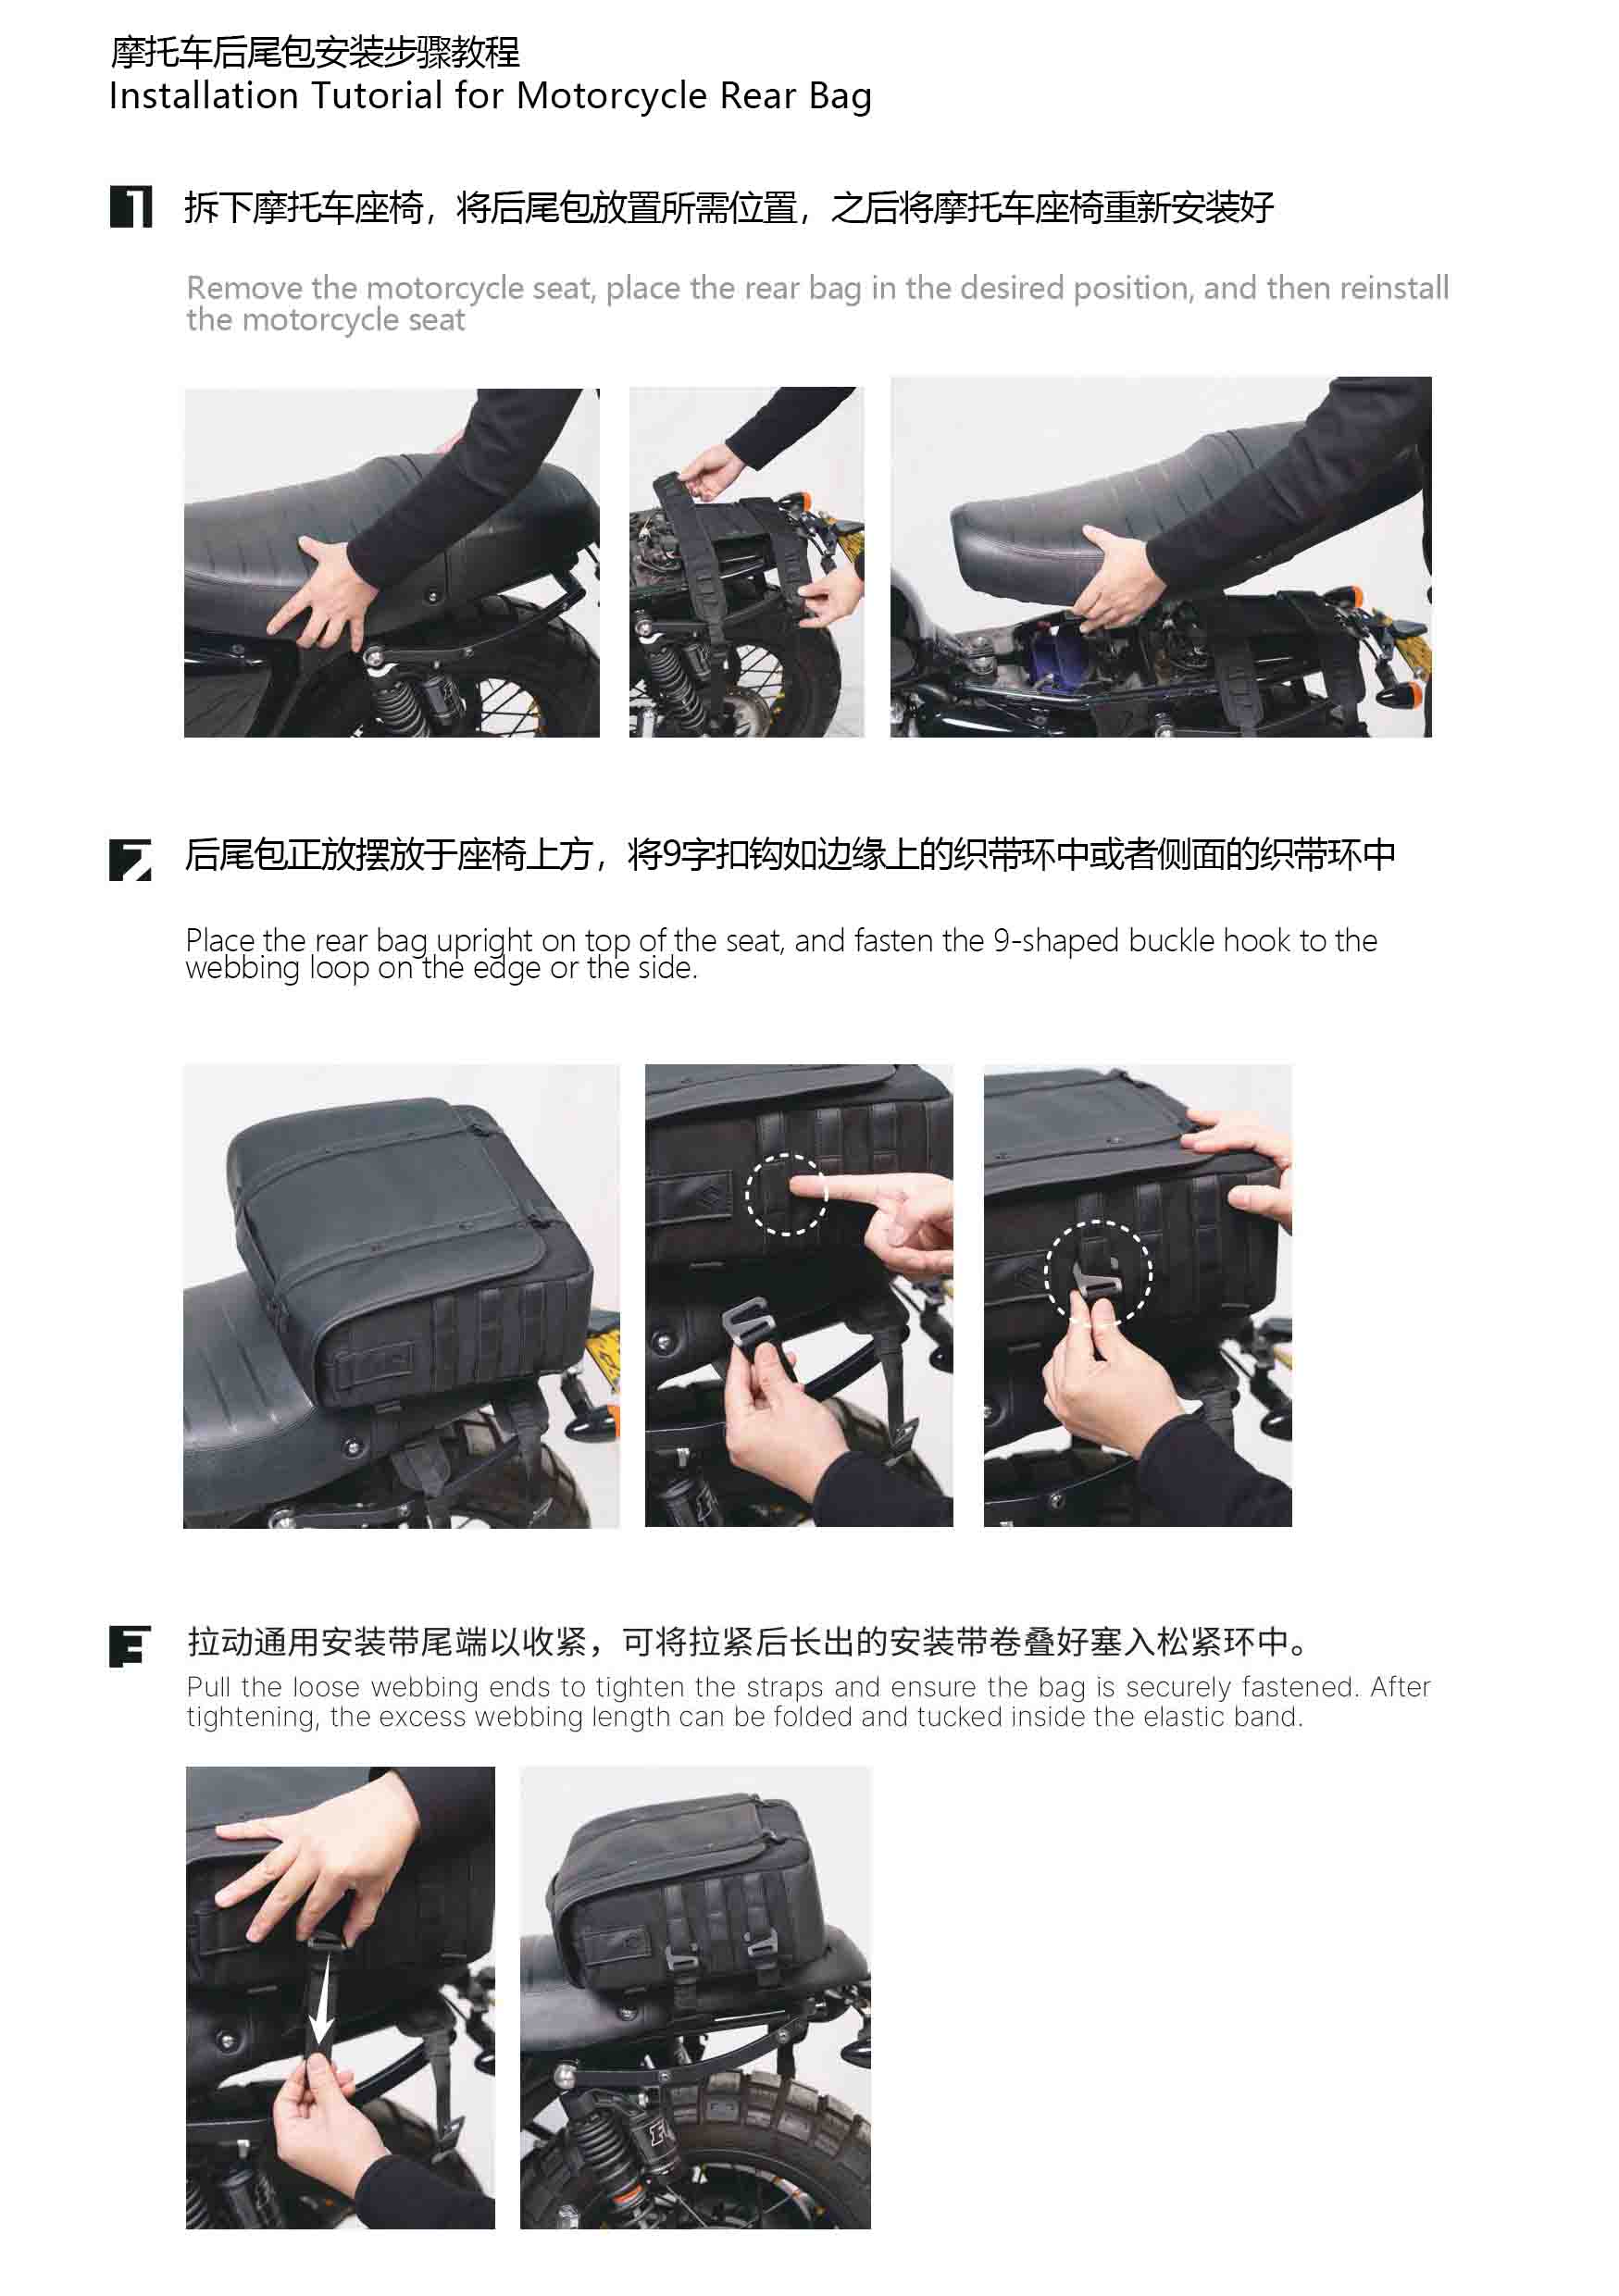
Dry bag lashing, step by step
Because this method depends entirely on the strapping, here is the exact sequence. The image blocks below are designed as a step-by-step visual set — ideal for following along.
 ]
]
Which method suits your type of bike?
The five methods aren't equally suited to every motorcycle — your bike's shape decides which anchor points you actually have and where weight sits best. Matching method to bike type is the fastest way to narrow the choice:
| Bike type | Best method | Why it fits |
|---|---|---|
| ADV / Adventure | Lashed dry bag | Built for variable loads and rough roads; a dry bag straps to the rear seat or subframe and shrugs off weather |
| Dual sport | Lashed dry bag or small tail bag | Light, off-road focus rewards a compact, low, securely strapped load |
| Touring | Saddlebags + tank bag | Long-haul capacity, balanced low weight on both sides, essentials up front |
| Cruiser | Throw-over saddlebags | Wide seat and low stance suit draped side bags; classic fit |
| Naked bike | Tail bag or tank bag | Limited mounting real estate; a seat-strapped tail bag is the practical choice |
| Sport bike | Tail bag | Aggressive riding position and small pillion seat favor a compact, tightly strapped tail bag |
These are starting points, not rules — a touring rider on a budget might lash a dry bag, and an ADV rider running errands might just wear a backpack. But the pattern holds: the more a bike is built for distance and rough use (ADV, touring), the more it rewards low, weatherproof, securely lashed luggage; the more it's built for sport (sport bike, naked), the more a compact tail bag is the realistic answer.
How to actually secure the load (this is where it goes wrong)
Every method above lives or dies on the strapping, so this is the part to get right rather than improvise:
- Use proper tie-down or rok-style straps, not bungee cords alone. Bungees stretch, hook off, and let the load creep — they're a backup, not a primary anchor.
- Anchor in opposing directions. Two straps pulling forward and two pulling back cancel the shift forces from acceleration and braking. A load pulled from only one direction will walk loose.
- Compress soft bags. A tightly packed or compression-strapped bag can't change shape and sag; a half-empty one will.
- Leave nothing dangling. Tuck or tape every loose strap end — a tail caught in the rear wheel or sprocket is the classic, avoidable disaster.
- Re-check after the first few miles. Straps bed in and loosen slightly once underway; a 30-second check after a short distance catches it before it becomes a problem.
How much weight, and where
"Keep it low and forward" needs numbers to be useful. These are sensible per-position guidelines for a typical mid-size motorcycle — but always treat your bike's owner's-manual load limit as the real ceiling, since a small-displacement machine carries far less than a big tourer:
| Mounting position | Suggested max weight* | Note |
|---|---|---|
| Tank bag | under ~5 kg | Keep it light so steering stays neutral |
| Tail bag (on seat) | ~5–10 kg | Pack heavy items low and toward the rider |
| Saddlebags (pair) | ~10–20 kg total | Balance left and right; never load one side heavy |
| Backpack (worn) | under ~7 kg | Beyond this, fatigue and safety drop off fast |
*General guidance for a mid-size bike. Your motorcycle's stated maximum load (rider + passenger + luggage) is the limit that overrides these figures — check the manual.
Common mistakes riders make (and how to avoid them)
Almost every luggage failure traces back to one of three avoidable errors. They're worth seeing clearly, because each has caused real crashes:
Mistake 1 — A strap or strap-end caught in the rear wheel
A dangling strap tail, or a bag mounted so low it can sag, gets dragged into the spinning rear wheel or sprocket — which can lock the wheel instantly. Avoid it: tuck and secure every strap end, and check clearance between any side bag and the wheel before riding.
Mistake 2 — A bag resting against the hot exhaust
A bag or strap touching the muffler melts, burns through, and can dump your load — common when side bags hang too low or shift during the ride. Avoid it: keep all material clear of the exhaust, and on the exhaust side use a heat-shield panel or a standoff so nothing can sag onto it.
Mistake 3 — Relying on a single bungee hook
One bungee, hooked once, is the classic shortcut — and it stretches, unhooks under vibration, and lets the whole load walk loose at speed. Avoid it: use proper tie-down straps anchored from opposing directions as your primary hold, with bungees only as a secondary net.
Don't forget the rain
One factor the rule above doesn't cover but that catches riders out: at highway speed, rain is driven at your luggage, not just falling on it, so a bag that's merely "water-resistant" soaks through fast. If there's any chance of weather, this is why a genuinely waterproof bag — welded seams, a roll-top or sealed closure — earns its place over an ordinary one. It's also why the dry-bag lashing method (Method 5) is so popular for touring: it solves carrying and weather in one move. (For the depth on what makes a moto bag truly waterproof, see our guide to motorcycle luggage.)
Which method should you use?
Matching method to trip, judged against the three rules:
| Your trip | Best method | Why |
|---|---|---|
| Daily commute | Tail bag or tank bag | Fast on/off, right-sized, secure |
| Weekend away | Tail bag + tank bag | Capacity plus easy-reach essentials |
| Longer touring | Saddlebags or lashed dry bag | Low weight, large capacity, weatherproof |
| Light, short ride | Backpack or sling | Nothing to mount; keep it light |
| Any bike, any load | Lashed dry bag | Most adaptable; depends on strapping |
The bottom line: You don't need a rack to carry luggage — you need a secure anchor and a load that's kept low, forward, and clear of moving parts. A tail bag covers most riders, saddlebags handle bigger trips, a tank bag holds essentials, and a lashed dry bag adapts to anything. Whichever you choose, the strapping is what keeps you safe: anchor it from opposing directions, leave nothing dangling, and push-test it before every ride.
Frequently asked questions
Yes. A tail bag straps to the passenger seat using the grab rails, subframe loops, or pillion peg mounts as anchor points — no rack needed. Use straps pulling in opposing directions so it can't shift.
For light loads over short distances, yes. For heavy loads or long rides it causes fatigue, raises your center of gravity, and puts the contents against your back in a fall — better carried on the bike instead.
No, not on their own. Bungees stretch and can hook off, letting the load creep. Use proper tie-down or rok-style straps as the primary anchor and treat bungees only as a backup.
Only if the tank is steel. Aluminum and plastic tanks won't hold magnets — those need a strap-ring tank bag instead. Check your tank with a small magnet before buying.
Tie the bottom of each bag back to a footpeg or frame point so it can't swing inward, and don't overload one side. A bag sagging into the wheel is a serious hazard, so check clearance before riding.
Less about a fixed number and more about placement and your bike's load limit — keep weight low and forward, stay within the manufacturer's stated load capacity, and don't let any single mounting point bear more than it's designed to.
Lash a waterproof dry bag to the seat, or use a waterproof tail bag. At speed, rain is driven at the load, so a truly waterproof bag with welded seams beats a water-resistant one that will soak through.
Yes. Straps bed in and loosen slightly in the first few miles. Stop briefly after a short distance to re-tension everything, then push-test the load before continuing.
Carrying gear in the weather?
A waterproof bag that straps on without a rack solves carrying and rain in one move. Browse motorcycle luggage, tail and saddlebag options, or cylindrical dry bags for lashing to any bike.